Showing posts with label white. Show all posts

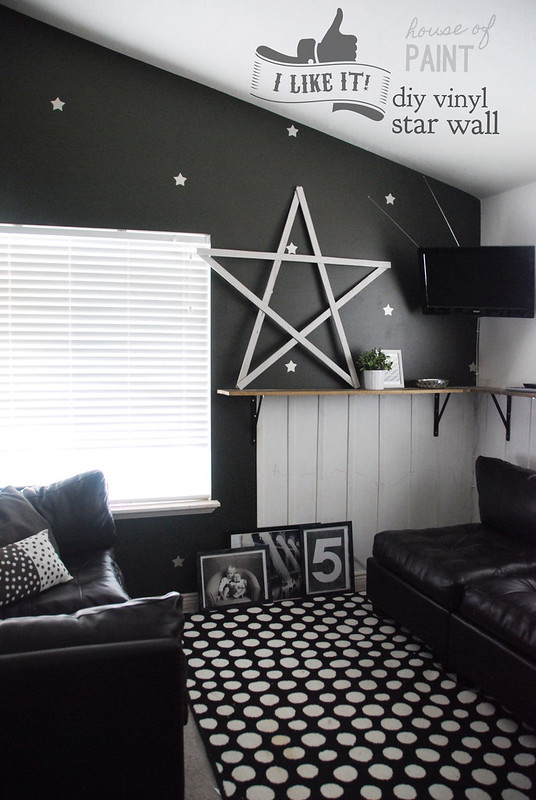
diy vinyl star living room wall

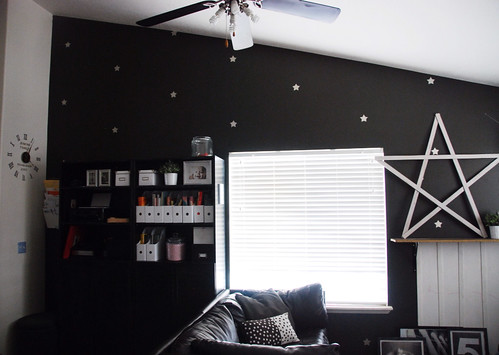
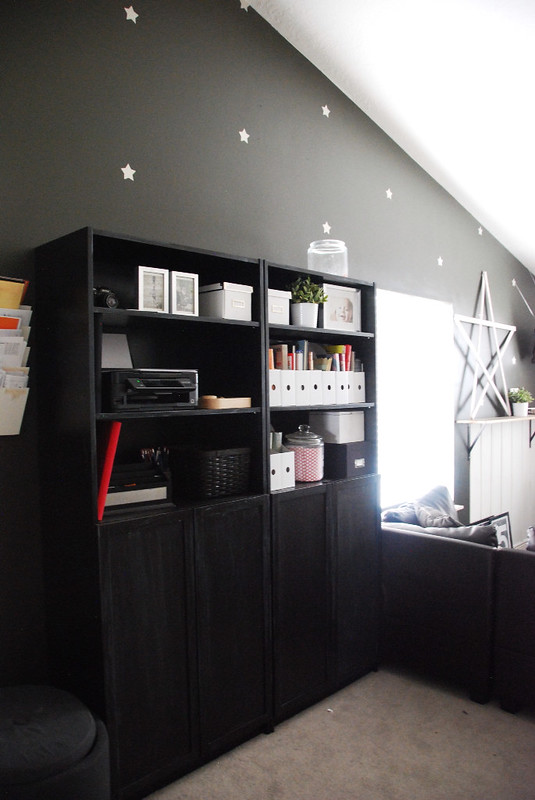
I have a terrible confession. I am a paint blogger. I paint things weekly at least but even with all of that, I have spent the last 7 years with a very boring unpainted living room. It has been dull with no color and no paint. I will admit, I like white. I love color in small accent pieces but typically I don't use a lot of color on my walls but I still should at least paint them right?! Part of the reason why I never painted this room was because of our vaulted ceilings and that this room is a great room connected to our kitchen. I have struggled because I want them to both go together and could never decide on a color. After lots of searching and pondering, I finally decided on an accent wall with stars. Read below to see how I create this!

Ok so to create this star vinyl wall, you will need the following:

   and 

(click on the images to purchase the rustoleum metallic finish spray paint and shur-line paint edger on amazon) 

  • Some sort of vinyl cutting machine or access to one. We used a circut. This is a great beginner vinyl project because it is super easy to lay down, like a sticker.
  • White Vinyl sheets (or silver if they have them at your local craft store. If they do, you can ignore the paint and painting steps in the tutorial)
  • Gray paint for the walls. I chose a behr paint called "black bean". Here is the link to it. It is a dark green gray paint.
  • Any other paint supplies needed to paint the wall
  • Silver or metallic spray paint
  • Ruler for measuring where to place the stars

For most of my projects, I take a few "in the process" pictures. I don't like to post all of them in here enlighten post because I think it clutters it up and makes it more complicated but I do know that they are helpful for many of you creating this and so I have then linked up to a folder for each project and you can look through them. Here is the link to the in process and before pictures for the diy star vinyl living room wall.


Ok tutorial time
1. Tape and prep. Move furniture out of the way. One of the best tools we purchased for this project was the shur line paint edger. I will never go back and get this! WE DID NOT HAVE TO TAPE AT WALL. It took a minute to get used but after that, the job went by super super fast. I have never been so pleased with touch up painting and corners. It was awesome.
2. Pull out the paint and get to it. We needed one really good coat, and a second quick coat with some touch ups. Also I should mention that I always use Behr Paint and a Primer. It makes it much quicker and is completely worth the extra cost for us. When I used to do it the other way buying the primer and the paint separately took hours of extra time and not that much less in cash so yeah, buy the behr paint and primer. It is fantastic
3. Get the vinyl and follow the instructions. I would suggest watching a few you tube cricut vinyl movies if you have never done it before. We hadn't and were super intimidated but it wasn't hard once we watched those and got going. I used a star from the essentials cartridge and it was 2.75 inches.
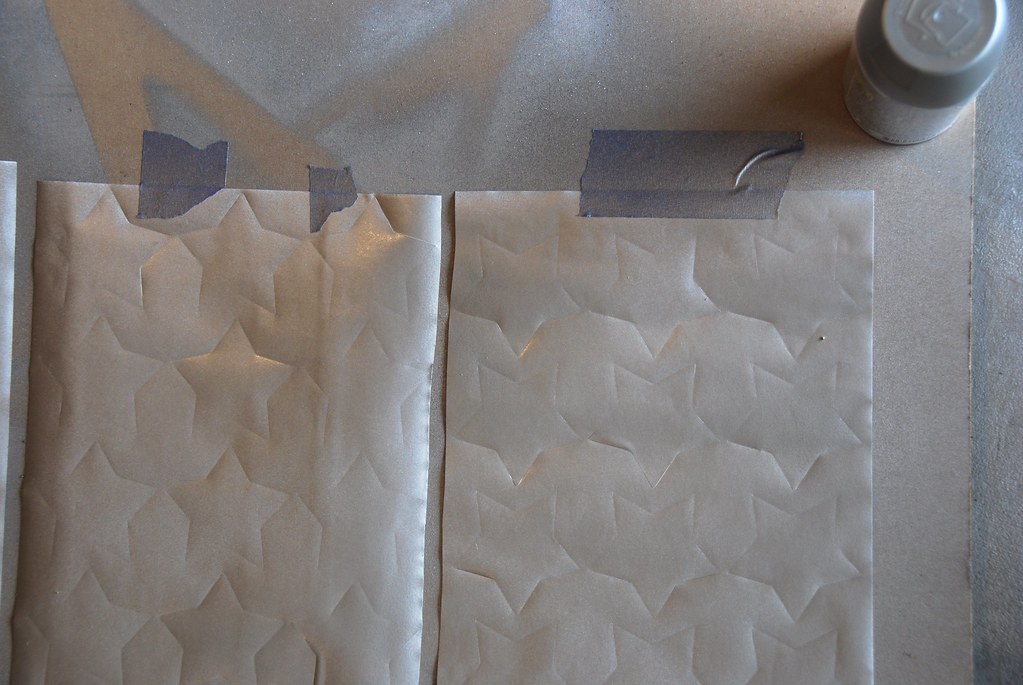
4. Alright, after they are cut, you might need to paint. This is an optional step and completely up to you. I used a silver metallic spray paint to paint over my white vinyl. It was shimmery but the not the mirror metallic and so it's more subtle.here is a link to the spray paint I used. I sprayed a nice even coat onto e star vinyl sticker sheets before peeling them. This worked perfectly for me.
5. After they are peeled off, you can place them wherever you want on the wall. We placed them 2 feet apart height and width across the board and measured really well because we wanted it to look like it was planned and well, straight. You could just wing it but I think that measuring it made it look tons better (don't tell my hubby because he was the one who kept insisting we measure). I don't want it to get to his head.
6. After this, well...put the furniture back, take some pictures, and enjoy!

Follow Kath Blogger's board diy projects on Pinterest.


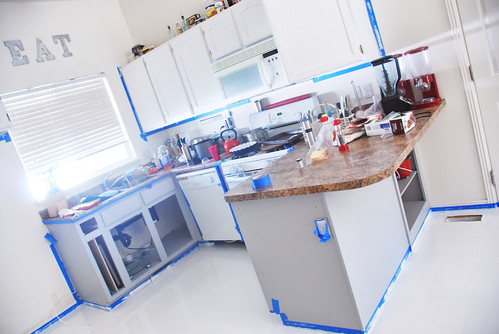
Everything you need to know about Painting your Kitchen Floor white


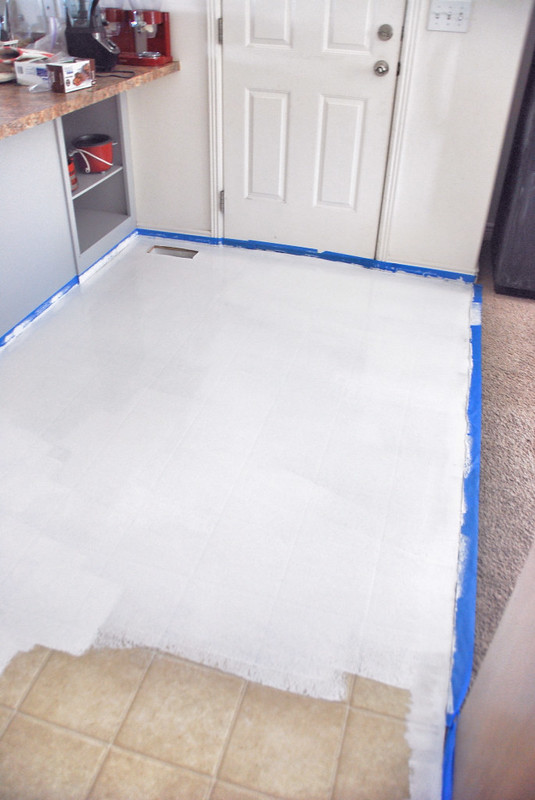
I did it. I painted my kitchen floor about a year in a half ago. I am going to tell you all about my experience and whether I would do it again. I want to be as honest as possible because their are big pros and big cons to this kind of a project. I am going to do it in a Q&A kind of post to make sure I answer all of the questions and keep it simple.
Q: what kid of paint did you use?
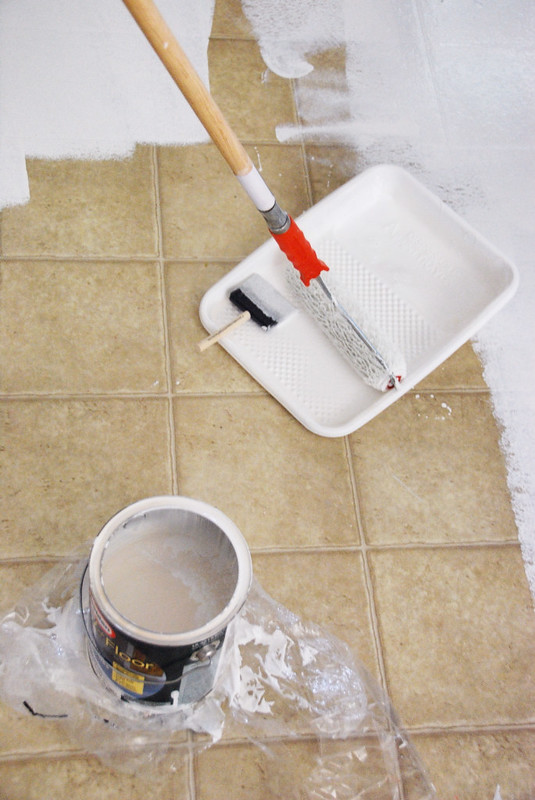
A: behr porch and patio floor paint. This is a water based paint so it's a lot easier to use and apply than an oil based paint would be. I'm not a big fan of oil based paints even though they are known to last longer. Water based paints have come a long way too so most of them last about the same amount of time. If you don't know what based paint you have used for other projects, it's likely that it was a latex water based paint. That's mostly what is sold in stores. I got the paint at Home Depot and it can be tinted to any color. This paint is a thicker and stickier paint than your average wall interior paint. You will definitely need a floor paint roller and you will have to think about where and how to apply it without getting boxed in when painting. Also remember to keep windows open for ventilation. It will take 1 hour to dry to the touch but you shouldn't put furniture or anything on it for at least 3 days.

Q: was the paint hard to apply? What prep did you do?
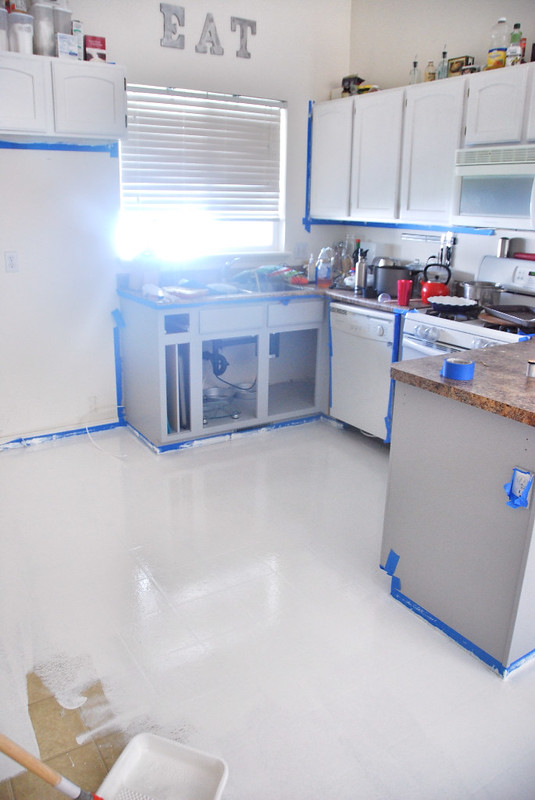
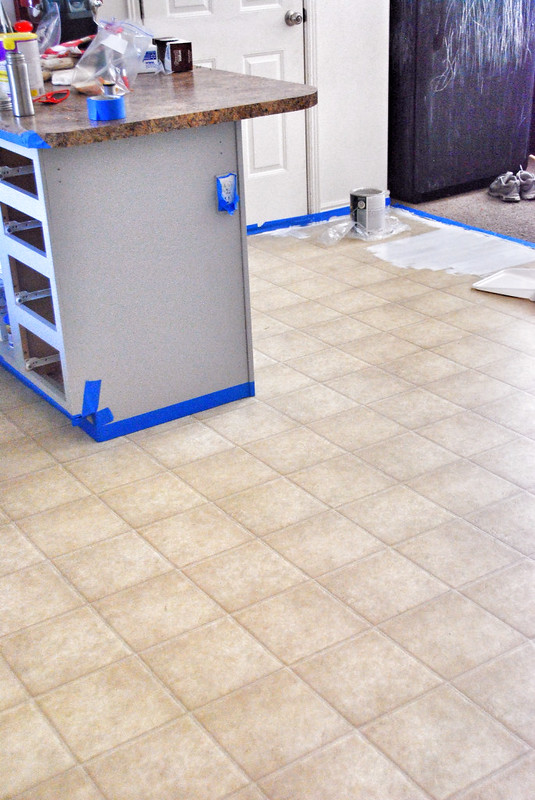
A: As far as prep, you want to clean, clean, clean. The floor needs to be scrubbed really well before painting. Priming is important but I will admit that I did not prime before I painted for a few reasons. 1, the floor I was painting was a light color and 2, I knew this project would be a temporary fix until we could afford the flooring we wanted. The paint was not hard at all to apply. Be sure to tape around appliances and cupboards that can't be removed before painting.
Q: how does it look? Do you like it?
A: first impression was Wow! It looked awesome. It was shiny, and looked like a brand new floor. My friends and family thought I had installed new vinyl flooring. It really worked well and I do like it. I do have some things I don't like now (a year in a half later) though so read the rest of the questions.
Q: how long did it last without chips?
A: when moving the fridge back into the kitchen we scuffed it a little but it wasn't a bit deal and we fixed it. It started chipping mostly when we got a dog. Our dog has now made the floor look pretty bad because his big paws and claws have just scratched the paint off all over the place. We knew this was a temporary project and we now have the money to put in our new flooring so it's worked out but I want to make everyone clear on that it doesn't last forever and won't last long if you have a big dog.
Q: do you have any regrets?
A: YES! This will come as common sense to most people but I really wanted white floors. I thought it wouldn't be that bad because I already had light floors and I made those work. This was a big mistake and I will never paint my floors white again. I still love white, just not for my floors. They are constantly messy and dirty. It is impossible with kids to keep them clean even when I mop every day so do me a favor and choose another color besides white. I probably would choose gray.
Q: would you do it again?
A: Yes, I would. While it wasn't a permanent solution, it's been nice this year having something that I really liked. I hated the floor color and design before. It was out dated and just ugly. While this white floor wasn't easy, it was my style and sometimes those middle projects in between the dream money project that you want are important and necessary to get you to where you want to go and still feel like you. Also, it was $30, that's it. I'd say it was worth it.


Follow Kath Blogger's board all about paint on Pinterest.

Fabulous Red, White, & Blue Ideas

I am so proud to be an american on days like this. I remember all that I am grateful for and the incredible sacrifice so many people have chosen to give in order to help and protect our country. I think of my loved ones that have passed, and the stars and stripes that are on our flag.

Since many holidays are coming up to celebrate our red, white, and blue (flag day, 4th of july, etc.) I thought I would share some amazing pinterest ideas for you that can help you in making your celebrations perfect. Just click on any of the images below and they will lead you to the right source. I can't tell you how many awesome patriotic desserts, crafts, decorations, etc. I found but I didn't want to share all of them or this post would just go on and on and on and on...lol (mine are already a little too long sometimes), so be sure to visit my pinterest set for Fourth of July to see more. Have a wonderful memorial day!


American flag cake at the hungry rabbit

amazing patriotic outfit at gabba gabba gorgeous

American flag house at at bent corner

American flag cubby at the bhg

patriotic hair at babes in hairland

American table décor by country living

patriotic dessert at twig and thistle

patriotic knot dress at eighteen 25 etsy shop

star medallions at Martha stewart

red, white, and blue pops at zoku

flag fruited cheesecake at Martha stewart

patriotic puffs at half baked

ghost jars, boo!

these were fun to make. they aren't as perfect as I wanted them to be. It turns out I'm not that good at painted faces by hand, and I also struggled a bit with my bottles. the paint was peeling a little--oh well! It does give it a little more eery of a feeling which I will tell everyone is the look I was going for...lol

patriotic salsa.


RED, WHITE, & BLUE SALSA.
so easy and yum. this is a fruity salsa and super easy! for many of you who
have looked at my "concoctions" will know, I don't typically use measurements. I
just guess and see what looks right. It should be an even amount of all the
ingredients, perhaps a tiny bit more tomato and onion than blueberry so that the
taste doesn't overwhelm the others.

*onions
*bluberries
*tomatoes

that's it! I smashed the blueberries in the bowl first so that they were very
juicy. I then added some tomatoes and smashed again. then I added some chopped
white onion in and stirred about. Last, I added a few more chopped tomatoes and
didn't smush them. It was really really yummy and a great fruity salsa.

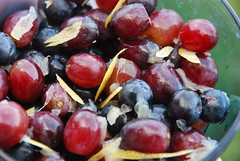
lemon zest fruit salad


great for the 4th of July Lemon Zest Fruit Salad

4th of July

red grapes

blueberries

lemon zest
lemon juice & pulp
vanilla extract

yum yum.

AddThis