


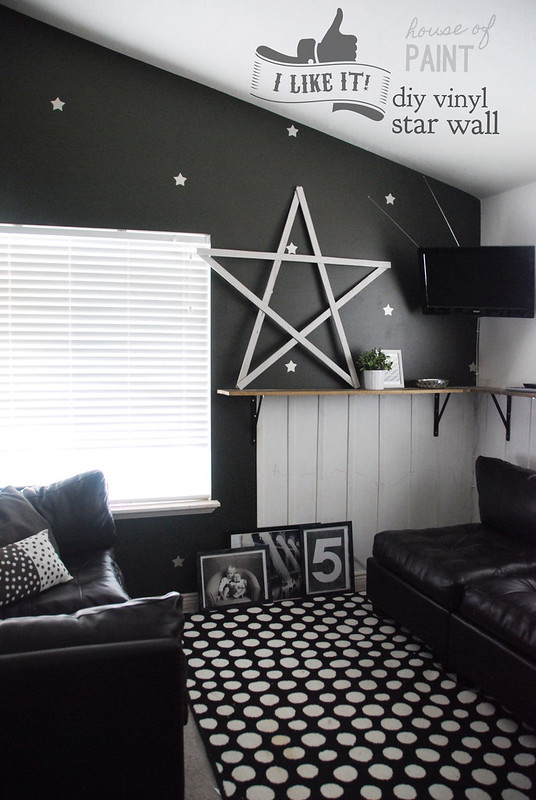
I have a terrible confession. I am a paint blogger. I paint things weekly at least but even with all of that, I have spent the last 7 years with a very boring unpainted living room. It has been dull with no color and no paint. I will admit, I like white. I love color in small accent pieces but typically I don't use a lot of color on my walls but I still should at least paint them right?! Part of the reason why I never painted this room was because of our vaulted ceilings and that this room is a great room connected to our kitchen. I have struggled because I want them to both go together and could never decide on a color. After lots of searching and pondering, I finally decided on an accent wall with stars. Read below to see how I create this!
Ok so to create this star vinyl wall, you will need the following:
 and
and 
(click on the images to purchase the rustoleum metallic finish spray paint and shur-line paint edger on amazon)
- Some sort of vinyl cutting machine or access to one. We used a circut. This is a great beginner vinyl project because it is super easy to lay down, like a sticker.
- White Vinyl sheets (or silver if they have them at your local craft store. If they do, you can ignore the paint and painting steps in the tutorial)
- Gray paint for the walls. I chose a behr paint called "black bean". Here is the link to it. It is a dark green gray paint.
- Any other paint supplies needed to paint the wall
- Silver or metallic spray paint
- Ruler for measuring where to place the stars
Ok tutorial time
1. Tape and prep. Move furniture out of the way. One of the best tools we purchased for this project was the shur line paint edger. I will never go back and get this! WE DID NOT HAVE TO TAPE AT WALL. It took a minute to get used but after that, the job went by super super fast. I have never been so pleased with touch up painting and corners. It was awesome. 2. Pull out the paint and get to it. We needed one really good coat, and a second quick coat with some touch ups. Also I should mention that I always use Behr Paint and a Primer. It makes it much quicker and is completely worth the extra cost for us. When I used to do it the other way buying the primer and the paint separately took hours of extra time and not that much less in cash so yeah, buy the behr paint and primer. It is fantastic
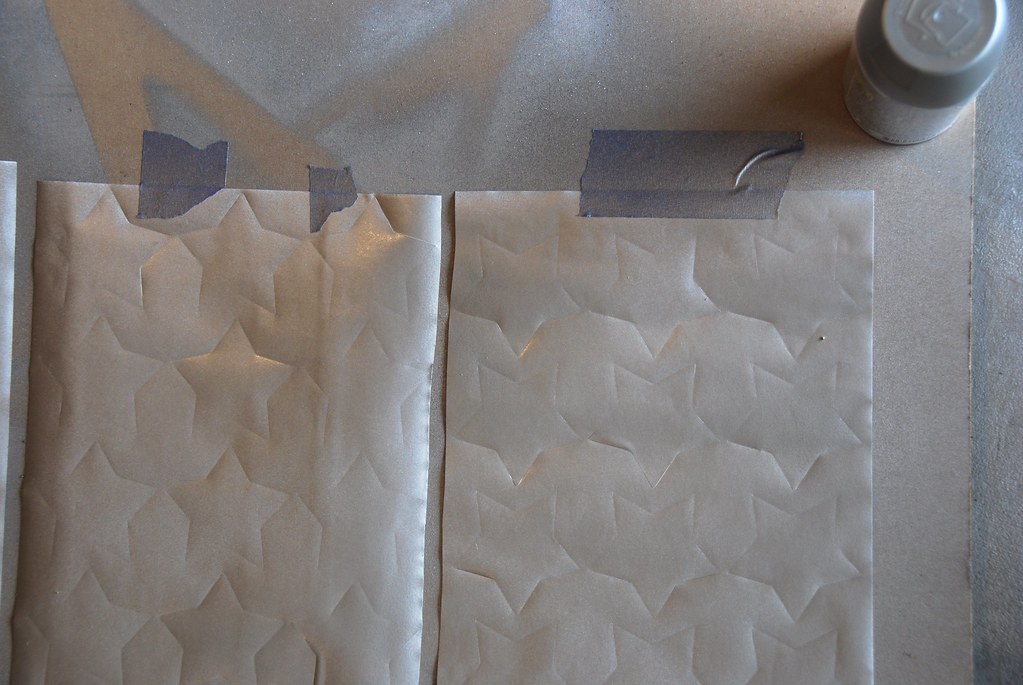
3. Get the vinyl and follow the instructions. I would suggest watching a few you tube cricut vinyl movies if you have never done it before. We hadn't and were super intimidated but it wasn't hard once we watched those and got going. I used a star from the essentials cartridge and it was 2.75 inches.
4. Alright, after they are cut, you might need to paint. This is an optional step and completely up to you. I used a silver metallic spray paint to paint over my white vinyl. It was shimmery but the not the mirror metallic and so it's more subtle.here is a link to the spray paint I used. I sprayed a nice even coat onto e star vinyl sticker sheets before peeling them. This worked perfectly for me.
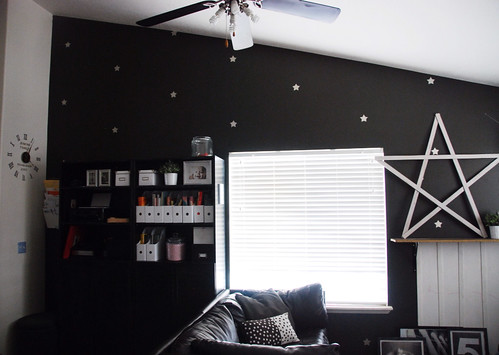
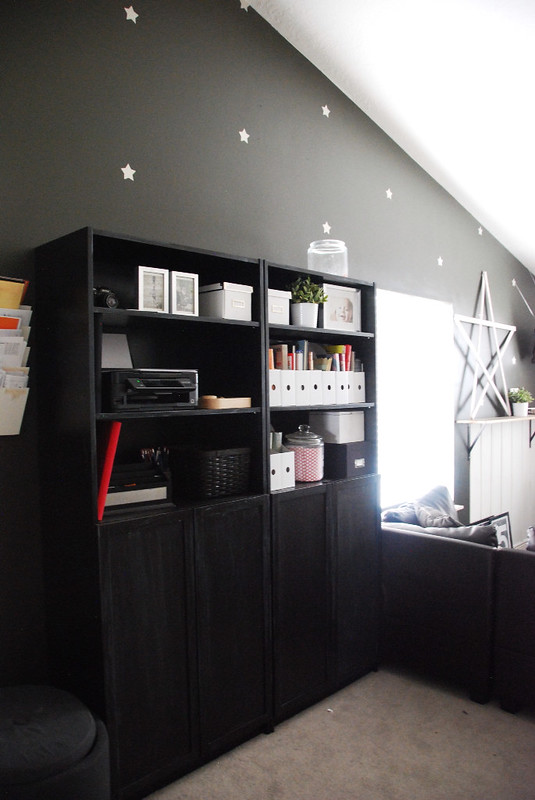
5. After they are peeled off, you can place them wherever you want on the wall. We placed them 2 feet apart height and width across the board and measured really well because we wanted it to look like it was planned and well, straight. You could just wing it but I think that measuring it made it look tons better (don't tell my hubby because he was the one who kept insisting we measure). I don't want it to get to his head.
6. After this, well...put the furniture back, take some pictures, and enjoy!
Follow Kath Blogger's board diy projects on Pinterest.


