Showing posts with label easter. Show all posts

Rainbow Easter Theme 2013

Rainbow Easter Time

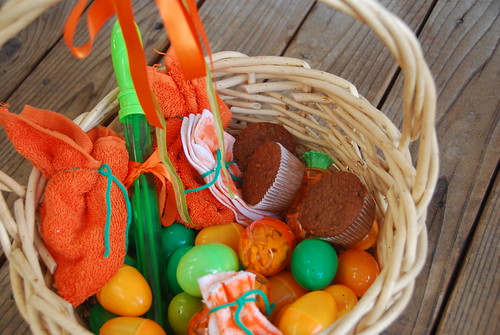
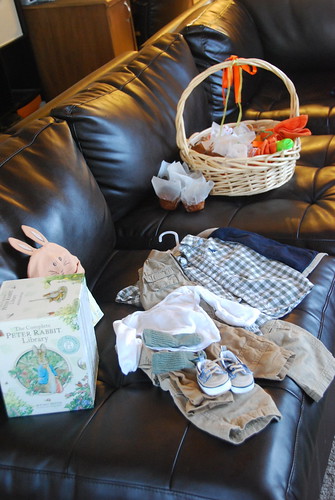
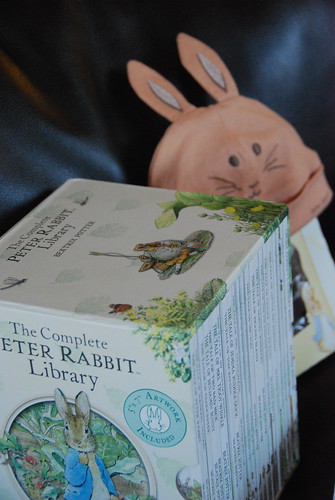
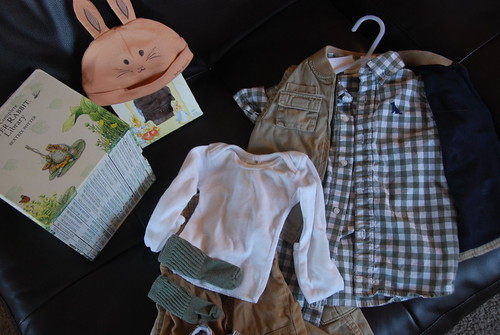
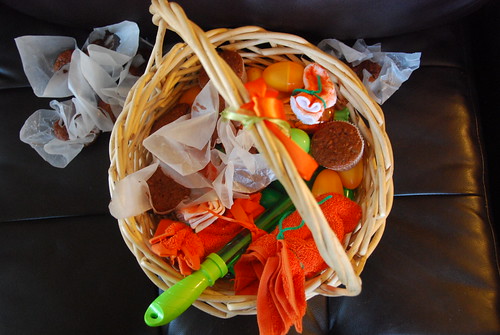
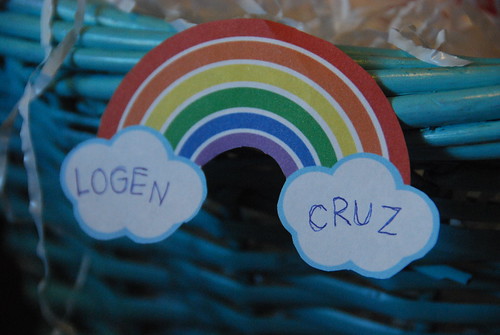
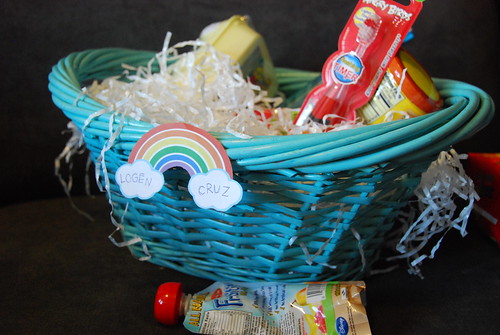
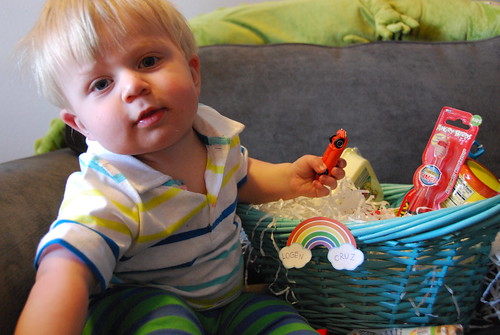
We had a fun and crazy Easter. We did a fun rainbow theme and the Easter bunny was nice enough to go along with it. We got rainbow goldfish, bubbles, and a kite. We had a lot of fun. All in all, it was a wonderful holiday.
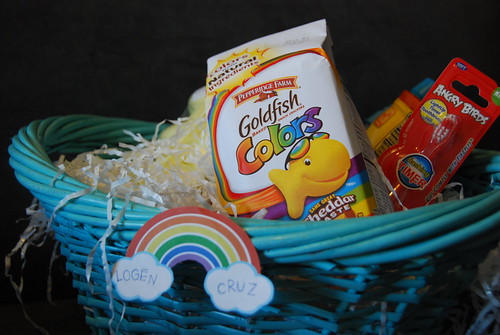
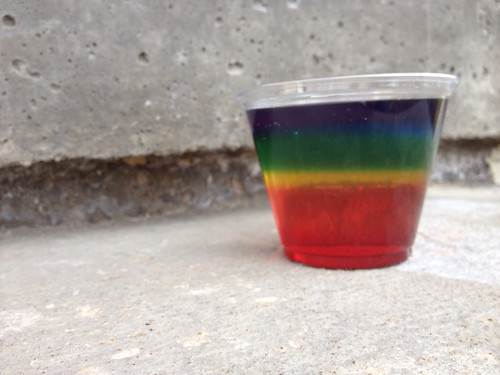
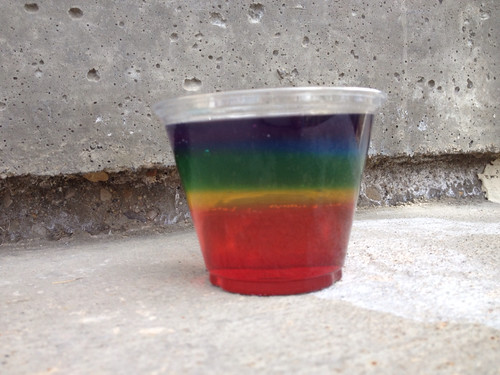
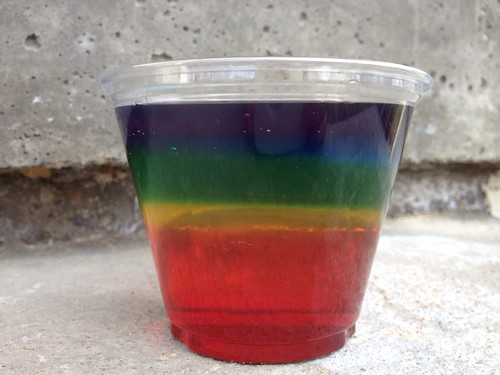
Rainbow Jello Cups

If it isn't clear, we chose a rainbow theme. Lol. I made this rainbow layered jello and did it in individual cups which worked out nicely. These are not hard at all but they are time consuming. You buy yellow, orange, red, green, blue, and purple jello boxes. If you want them like mine, make the red first and then pour the layer into the cups, put them in the fridge for an hour. Then you will pour the orange in and let that set for an hour, and then the yellow and so on until all of them are in the cups. Remember, you need an hour to refrigerate in between each layer. Also, you want to wait for the jello to cool down a little before pouring them into the cups. We waited about ten minutes which was perfect because it hadn't started setting but it wasn't too hot so it didn't melt the jello layers before at all. Anyway, I enjoyed making this even though it did take some patience.

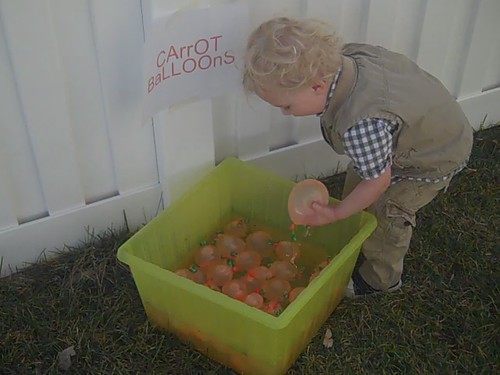
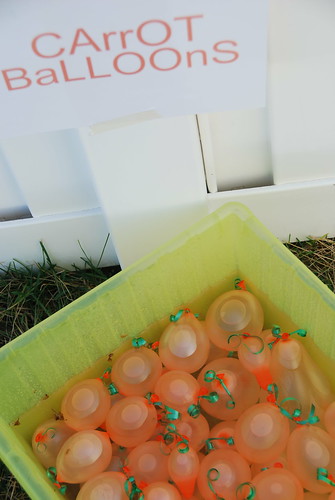
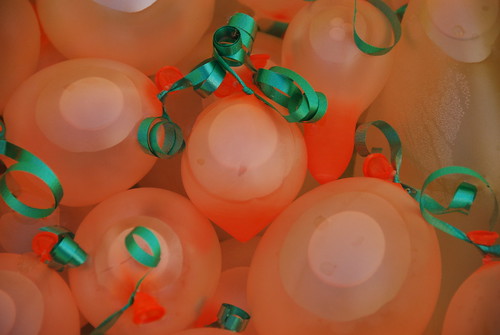
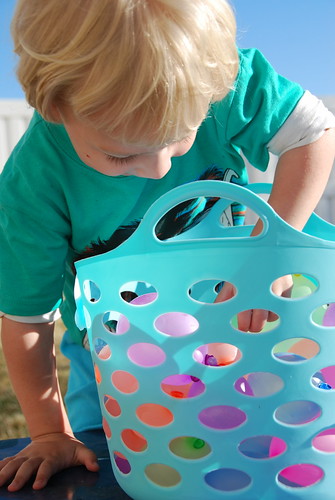
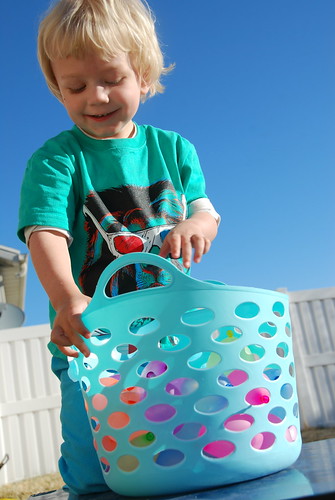
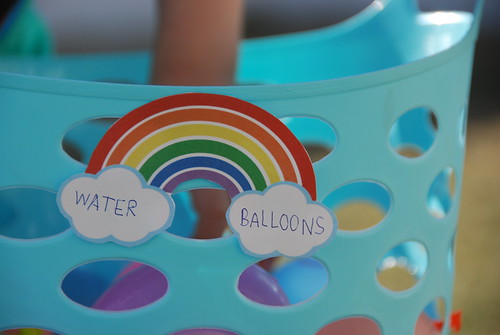
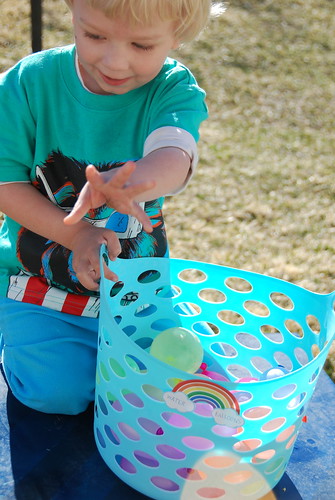
Rainbow water balloons

I love water balloons. The person who loves them even more? Logen! We did this activity last year and he loved it so much, we have been doing them all year. This year, I bought multi colored balloons for Easter. They kind of look like eggs so they go along with Easter well and it's fun for little ones that don't care that much for an Easter egg hunt. All in all, it was a big success. The only downside, he wanted more.

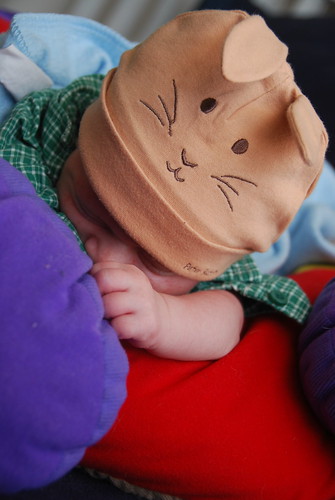
Easter egg hunt with cousin


Follow Kath Blogger's board easter on Pinterest.

Easter 2012

We had a lot of fun this Easter. I love the holidays. Here are some pictures and videos from our celebrations.
Follow Kath Blogger's board easter on Pinterest.

mini chocolate deviled eggs

MINI CHOCOLATE DEVILED EGGS. 

These devilishly decadent eggs are super tasty and super easy to create.
I saw a similar idea on . I thought I should try it my way and so I did.

to make these, you will need:
  • cadburry easter eggs
whipped caramel frosting
  • heavy whipping cream
  • powdered sugar
  • caramel syrup
  • yellow food coloring

To make these, simply cut the cadbury easter eggs in halves. In a separate bowl, create the Whipped Caramel Frosting by adding all of the ingredients (minus) the eggs and blending together until smooth. Then place a dollop of the cream onto the eggs and serve. Kind of a fun take on deviled eggs.


Follow Kath Blogger's board easter on Pinterest.

birdseed eggs.


sorry this post was accidentally deleted and is being redone. I apologize for the inconvenience. 

Easter Egg Flowers

I love easter. The feeling of spring is finally in the air and everything feels new and fresh. In hopes of encouraging myself to spend more time outdoors and focus on earth, sunshine, and health--I have tried out some EASY and creative ideas for easter. All of my ideas are inspired with nature in mind and incorporate the ever traditional easter egg.

sunflower yellows Theirs really nothing simpler than these egg flowers. For the sunflower yellows, you will need to blow the eggs if you wish to keep them. I have done this many times however I struggled this time because I bought the cheapest eggs and they were not very strong so a lot of them broke. Plus I didn't do it how I normally do. Instead of blowing them with my mouth which I would recommend, I used a rubber syringe (the kind you use to suction a baby's nose). This does make it easier but most of the time they break because the suction is too strong. Their are many ideas, tips on blowing an easter egg. Here is instructions on Better in Bulk blog: how to blow an easter egg. If you wish to try the syringe way, here are instructions on All You-How to Blow an Easter Egg.

After the egg has been blown, you want to paint them with a white metallic paint. I got mine at walmart but it's s simple acrylic craft paint. I found it was easier to use my fingers to spread it around the egg than using a paintbrush but it's up to you. It definitely is messier with your hands. I then purchased the yellow sunflower stickers from martha stewart. Here is a link to them:
Martha Stewart Yellow Flowers If you can't find them, you could purchase any sort of flower sticker or die cut to glue or attach in it's place. For the leaves, I purchased 1 12x12 piece of green glitter paper. I eyeballed cutting the leaves and didn't trace them or anything. It is totally up to you. I glued the stickers, and paper to the egg using elmers glue but you could also use hot glue if you are nervous about them falling. Be sure that the acrylic paint is dry before gluing on the stickers. optional: With one of my sunflower yellows, I sprinkled glitter on top of it while the paint was drying. You could also do that to any of the garden egg flowers.


the red rose
For the red rose egg, you will need to blow the eggs if you wish to keep them. I have done this many times however I struggled this time because I bought the cheapest eggs and they were not very strong so a lot of them broke. Plus I didn't do it how I normally do. Instead of blowing them with my mouth which I would recommend, I used a rubber syringe (the kind you use to suction a baby's nose). This does make it easier but most of the time they break because the suction is too strong. Their are many ideas, tips on blowing an easter egg. Here is instructions on Better in Bulk blog: how to blow an easter egg. If you wish to try the syringe way, here are instructions on All You-How to Blow an Easter Egg.

After the egg is blown, I purchased red rose petals during valentines but you could still find them in craft stores now. I simply hot glued the petals to the egg and around the egg to create the resemblance of a blooming flower. I purchased a 12x12 piece of green glitter paper from the craft store and cut out leaves. I eyeballed the leaves and did not trace them but you could do it however you feel comfortable. The leaves can be attached with hot glue as well or you can simply use craft or white glue. At the end, I let my toddler (with supervision) color around the top of the egg with red crayon and red marker. We tried to color in circles so that it looked even more so, like a rose.
white peonies
For the white peonies, you will need to blow the eggs if you wish to keep them. I have done this many times however I struggled this time because I bought the cheapest eggs and they were not very strong so a lot of them broke. Plus I didn't do it how I normally do. Instead of blowing them with my mouth which I would recommend, I used a rubber syringe (the kind you use to suction a baby's nose). This does make it easier but most of the time they break because the suction is too strong. Their are many ideas, tips on blowing an easter egg. Here is instructions on Better in Bulk blog: how to blow an easter egg. If you wish to try the syringe way, here are instructions on All You-How to Blow an Easter Egg.

These white peonies are very easy. I didn't even paint these at all. After the egg has been blown, I simply attached stickers and green glitter paper. I purchased the white flowers from martha stewart. Here is the link to them:
Martha Stewart White Flower Stickers. If you don't want to purchase them, you could find any paper die cut flower, flower sticker, or even fabric flower to attach instead. You can attach the flowers using white craft glue, or hot glue if you really want to make sure it stays. The green leaves were cut using a 12x12 piece of glitter paper. I eyeballed the leaves when cutting, but you can do whatever makes you feel comfortable. If you wish to trace them their are many outlines of leaves you can use online by looking in the creative commons area on google.

AddThis