


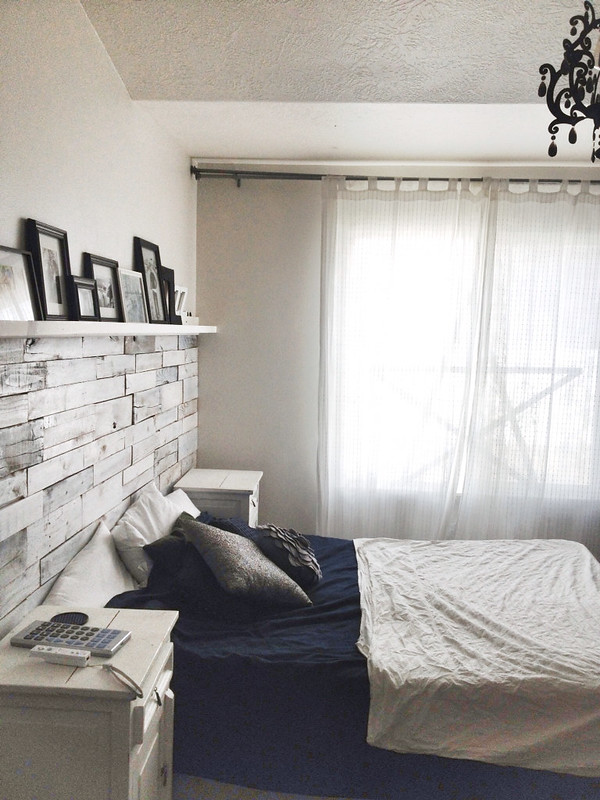
Alright drum roll please, i definitely believe i deserve something amazing as a reward because this has been a long project in the making. I started this project last fall in our master bedroom. It has been quite the journey getting this done but I am super excited about it. It turned out exactly as I was hoping. To start, you should probably see a few steps of this process so I have the tutorial, a little farther down....scroll away.


Making the white washed wall.
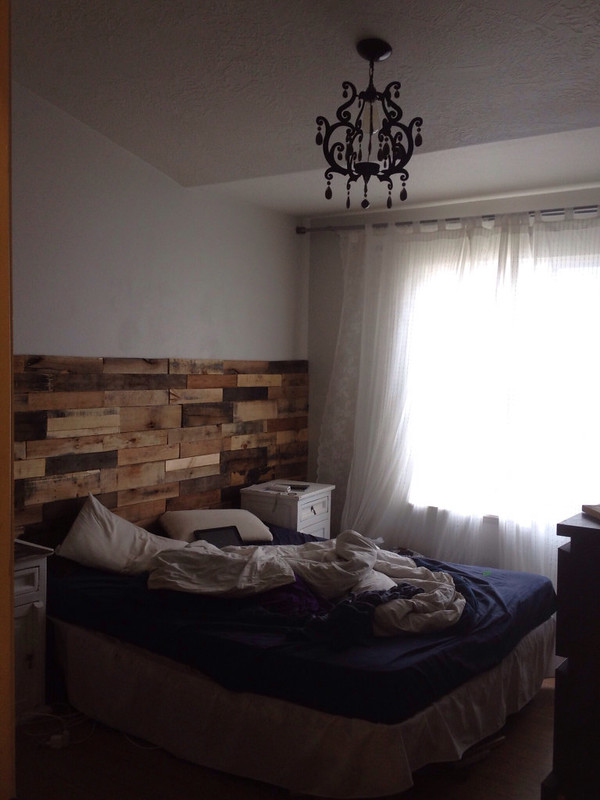
1. First, lets talk the wall. While I LOVE the finished wall, it was not the easiest project and mainly because of the prep work. We used wood pallets which are great because you can often get them for free and they give you that aged look that is awesome but I am not sure for this project, if It was worth using wood pallets because the prep work was a lot. You will need to take the wood apart from the wood pallets and then cut the wood pallets into pieces. Next, you will need to sand the wood pallet pieces really well and discard anyones that have holes, or look too worn. Then you will need to match pieces that have a similar width. We started at the bottom and went from right to left on the first row and from left to right on the second and continued to alternate until all of the wood was attached. We used wood glue on all the pieces and then you can put nails into the wall as well. I should mention that i dont think you need nails. we decided to do them and it was a hassle. they arent going into the studs and the wood glue i believe would have been enough alone. It would be much easier with a nail gun. We don't have one and so my husband drilled a little pilot hole into the wood first and then the nail could go through the dry wall after that a little easier. It was not the fastest method but it was effective. I also want to mention, I sprayed a polyeurathane coating on top of the wood and sanded it down a lot after putting it on the wall to protect us from any pesticides that can be put on the wood. While, I discarded any "falling apart" pieces and was careful to select wood pallets, some are sprayed with pesticides so you want to be sure and sand down the wood well before putting it on the wall. All in all, we love the wall and would do it again but we might purchase Home Depot wood instead next time because the prep work before putting them on the wall was very time consuming, we would lose that aged look though...hmmm
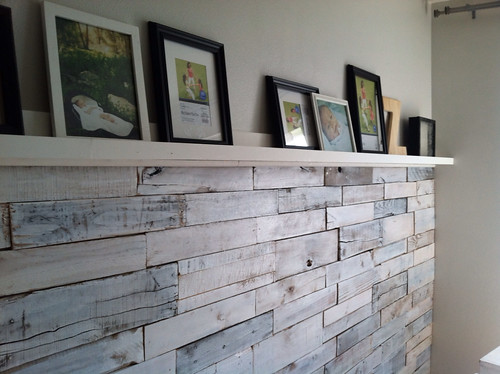
2. White washing is so easy. Oh man, this was my favorite and by far the most simple of task of this project. To white wash anything, you just want equal parts water and white paint. You need to get rid of everything around and lay down a drop cloth on the floor because it can get messy. I used a plastic latex glove (like medical gloves, you can find them in the first aid section of a grocery store) and an old sock on top to apply it rather than a paint brush. I use the same thing when I apply a stain to furniture and it works so well. I saw this idea on Rehab Addict (love that show). The latex glove underneath is just so you don't get paint all over your hand. Mix the paint and water together, than dip your hand in the mixture and spread it back and forth over the wood. Because its mixed with water, it will drip a lot. That's ok. Also because it has water, it will absorb into the wood and dry lighter than it looks when it is applied so be aware of that. Wood can only absorb so much at one time so you don't want to lay it on thick or else it will look streaky. Do a thin layer across the wood and then let it dry and then try again until you are happy with the results.
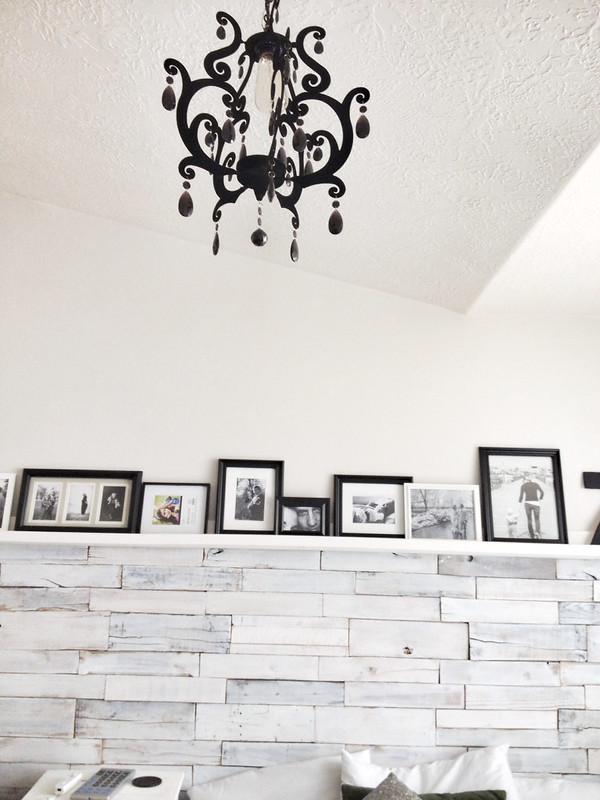
3. Now for the shelf, this was tricky because our wall was longer than one piece of wood we could find at Home Depot so we had to attach it as two pieces together and then lay some wood putty to cover up the line. We also had to be sure it was level when putting it all together as one shelf because it was two to begin with. Either way, it worked, just took a little more time. We use Ana white's $10 shelf tutorial and plan. We had to do about 3 shelf lengths in all so $30.
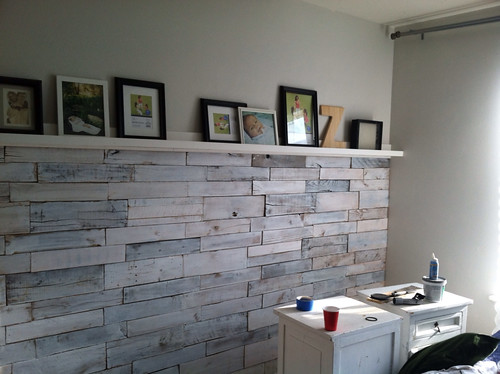
4. Overall, I love the look and turnout of this project even though it was a lot of work. I chose some fun black and white frames with fun memories of our family. If you have further questions about this project, feel free to email me and I will try to answer your questions. Justkathryn143{at}gmail.com