alright everyone, I am here to explain some ideas to adding layers and snow to your photos.
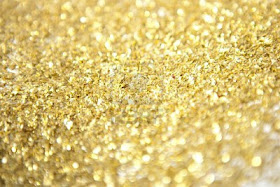
first off, you will need the photo (photo #1) you are going to work with and a photo of the texture you wanting to blend into your photo (photo #2). For example, if you are wanting to blend snow into a photograph, you need a picture of snow falling. If you are wanting to have glitter or water drops falling, you will of course need a photograph of glitter or water drops. Their are free photos you can use in creative commons but be sure that they are available for personal use and editing before taking them.
alright so we will be working in picnik today. You want to upload both photos into flickr or picnik and then edit the first photo. You will then simply drag photo #2 into the first photo. Their should be your photos available at the bottom of the picnik screen to drag.
Size photo #2 to fit directly over photo #1 or in the area you want it to be blended. In the photo that I did, I dragged multiple copies of the snow picture around and made them smaller so that I didn't have it covering the entire photo and just part of the picture.
If you click on photo #2, a small window will pop up that allows you to edit the color, and fade the photograph. It will also have a drop down menu. Click on the drop down menu and go through the many options to blend it. I used the "lighten" option to blend mine but It always depends on the photograph you are blending so try them all before deciding. If you want to blend it more or have it less noticeable, you can also fade the photograph.
After you have blended them and they look the way you want, you are done! save and enjoy.
EXAMPLES OF TEXTURES


